- Home »
- Our Products »
- Coating Thickness EDXRF(Energy Dispersive XRF)
Coating Thickness EDXRF(Energy Dispersive XRF)
Electroplating and Electroless Coatings
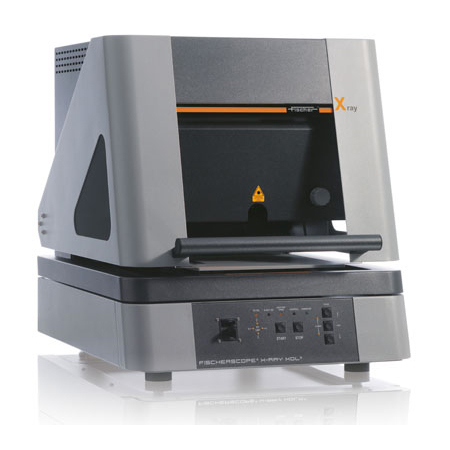
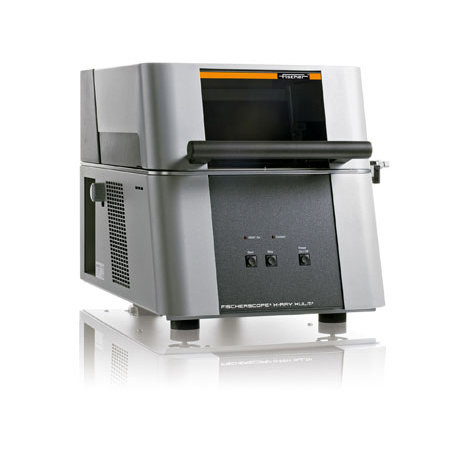
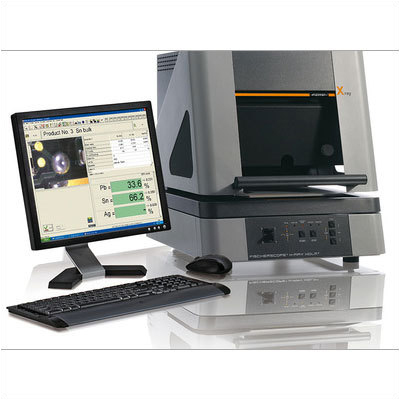
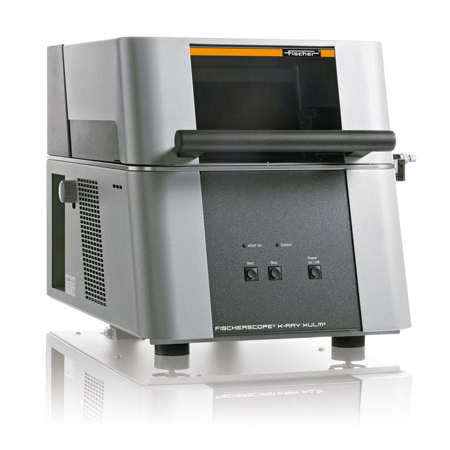
The combination of state-of-the-art detector technology such as SDD, multiple excitations in various modes, and the powerful analysis software, WinFTM® , allows for reliable, accurate measurements of both coating thickness of electroplated materials and phosphorous content of electroless nickel coatings on a wide variety of substrate materials. The XRF machine unites all these performance features in one instrument.
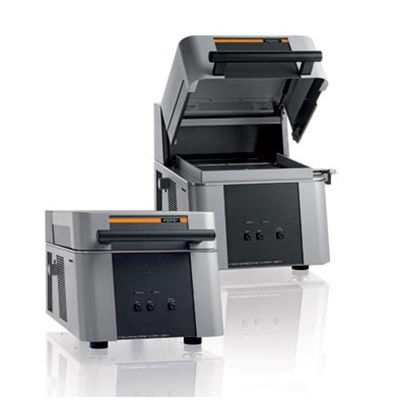
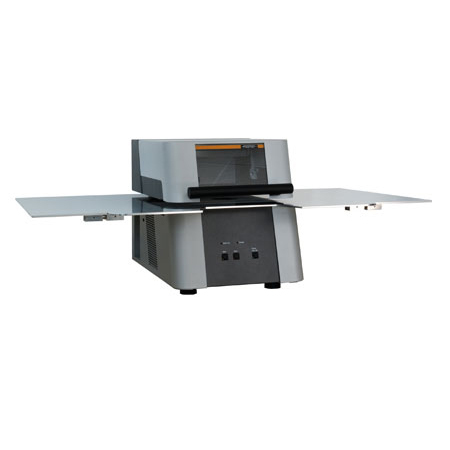
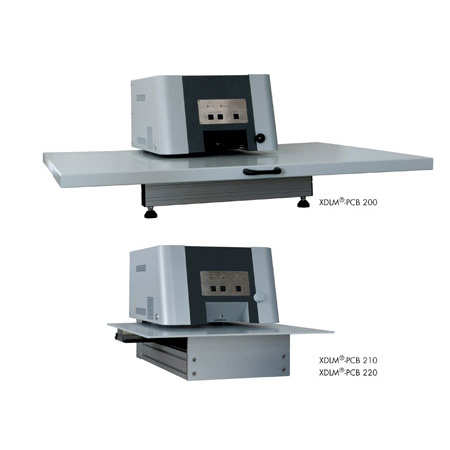
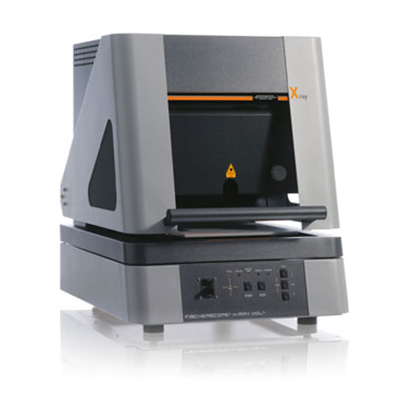
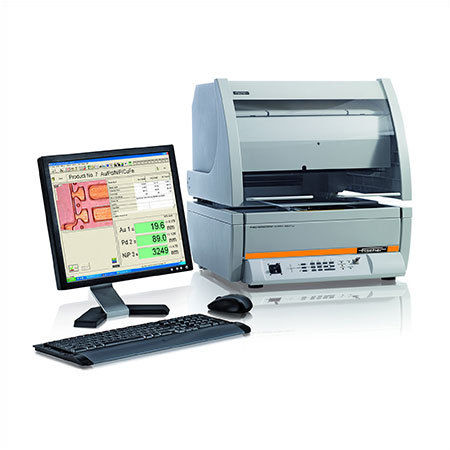
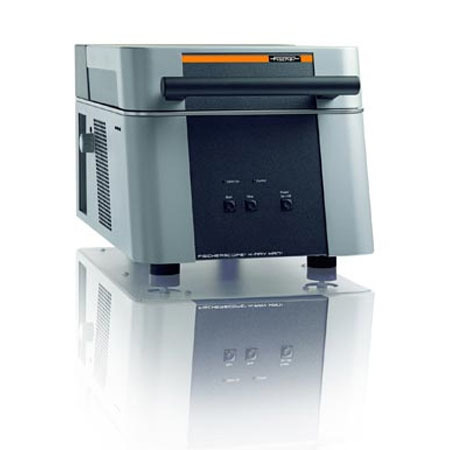
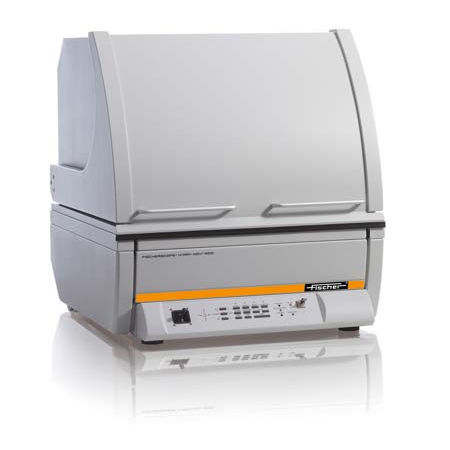
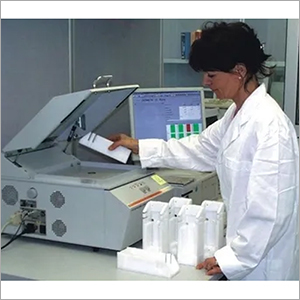
X-Ray Fluorescence Measuring Instrument for Manual or Automated Coating Thickness Measurements on Protective and Decorative Coatings, Mass-Produced Parts and Printed Circuit Boards
X-Ray Fluorescence Measuring Instrument for Manual or Automated Coating Thickness Measurements on Protective and Decorative Coatings, Mass-Produced Parts and Printed Circuit Boards
PVD & CVD Coating
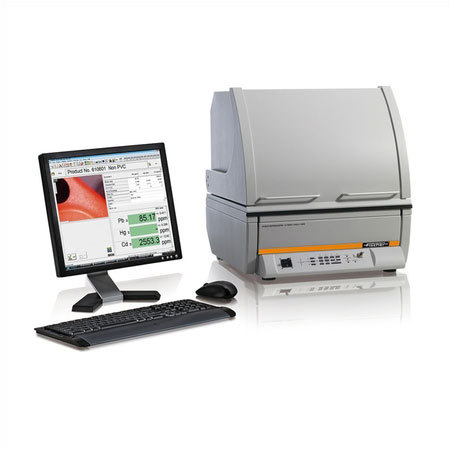
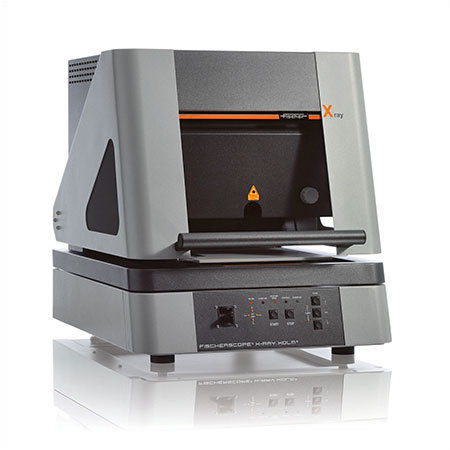
Measurement of the coating thickness of hard material coatings such as TiN, TiCN, CrN or CrVN using the X-ray fluorescence (XRF) measuring instruments FISCHERSCOPE X-RAY XDAL and XDV-SDD along with Measurement of the coating thickness of thin coatings such as DLC coatings using the beta backscatter method in the FISCHERSCOPE® MMS® PC2
Coating Thickness Measurement on Watches
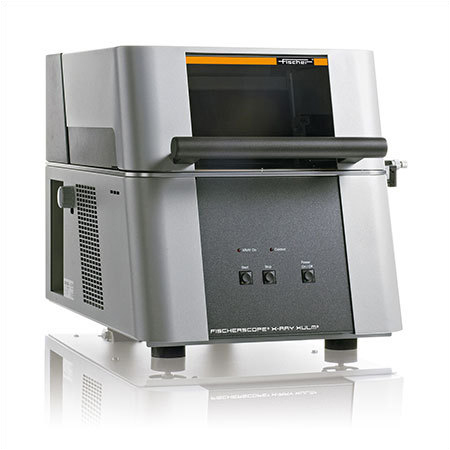
Watch hands, faces, gear wheels and other visible elements inside high quality watches are often plated with gold or other precious metals that lend the watch its elegant look. Here, not only is the visual effect important but also the precise functioning of the parts. Tight tolerance limits require extremely precise coating thickness measurements, such as those achieved using X-ray fluorescence


